Hello, Design Dazzle readers! My name is Dawn of Revel and Glitter, a creative lifestyle and entertaining blog, and I’m thrilled to be back for my 7th Christmas Wonderful sharing a fun Christmas present party backdrop. I’m always sharing with my reader’s easy DIY ideas and I’m often inspired by fun, everyday objects.
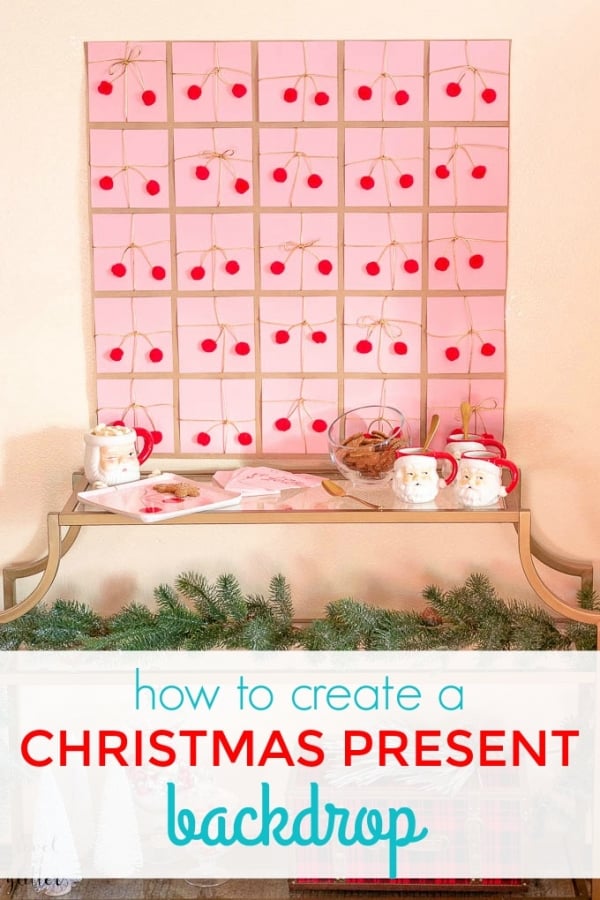
When some of my favorite party designers collaborated on these festive plates and napkins, my party wheels started spinning. I was inspired to turn their party plates into a Christmas present backdrop! I loved the idea of turning the design into a 3-D version.
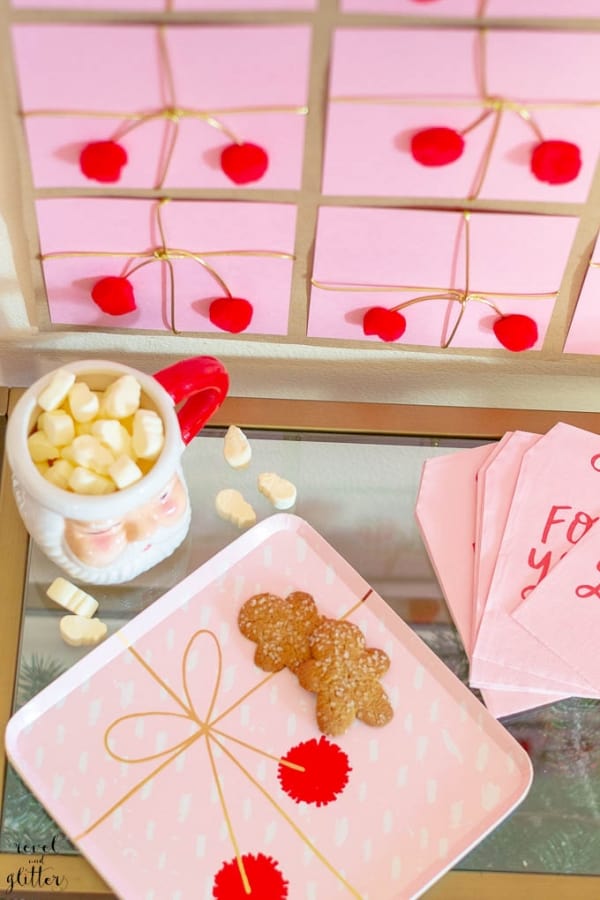
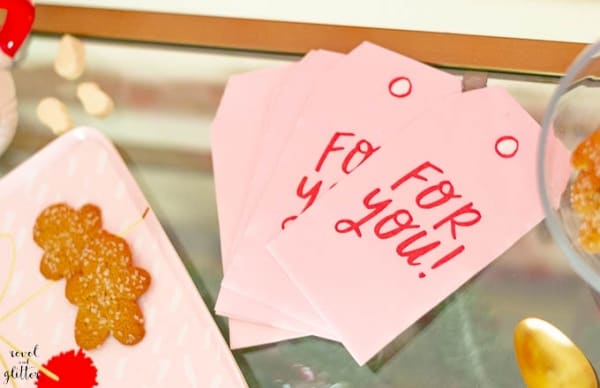
Whenever I am putting together a party table or space, there is always a focal point, the ‘showstopper’. This backdrop is the perfect setting for our simple hot cocoa bar. Plus, it doesn’t cost as much as those fancier backdrops and with a little time and even smaller crafting ability, you can recreate this look.
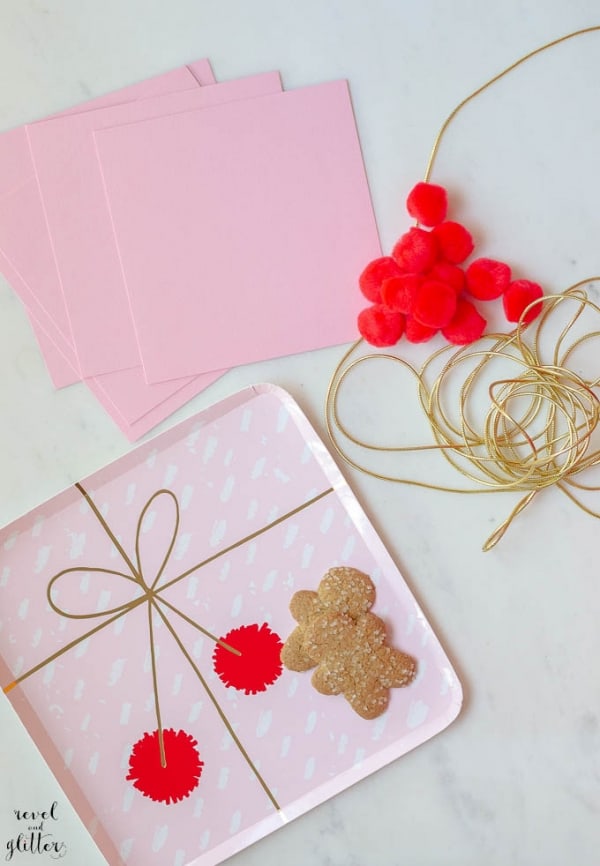
What You’ll Need:
pink 5 ½″ square flat cards (Mine are from Paper Source, in Blossom)
1″ red pom poms
gold cord
hot glue gun
dry adhesive like double-sided tape or sticky dots
sharp scissors
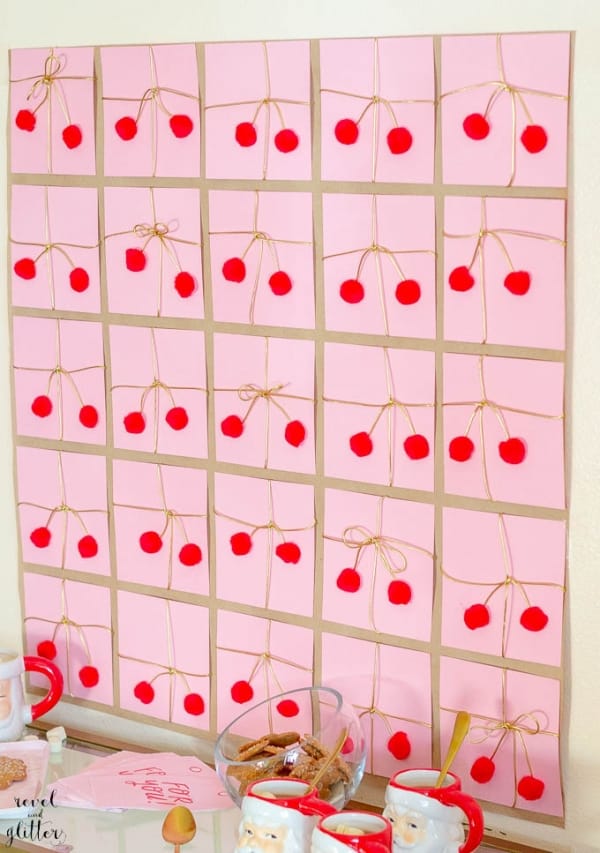
My PS cards come in a pack of 25, so it made it easy to lay them out in rows and columns of 5. Your backdrop can be as large or as small as you need, just keep the design square.
We are going to tie on the gold cord on to each pink card like we would a ribbon on a box. Start by cutting a long piece of gold cord and give yourself some wiggle room so you can have ‘tails’ to attach the pom poms. Wrap the cord around the pink card and knot it once on top. Flip the card over and use a small piece of regular tape to hold the gold cord in place.
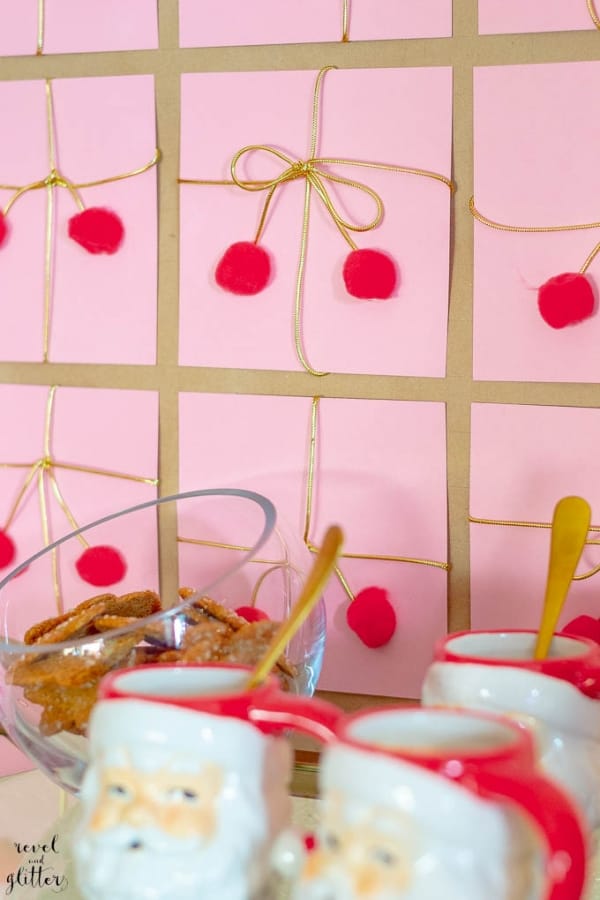
Instead of trying to tie the bow from one length of cord, it was easier to knot the gold cord, then create a bow from another piece of gold cord and hot glue it to the knot.
Trim the gold cord tails to the desired length and hot glue a pom pom to the tail and on the card. To finish, I laid mine out on kraft paper that has light grid lines that would be covered by the present cards. Unfortunately, if you are not so lucky, you will have to measure everything out so you have nice, even rows and columns. Attach with a dry adhesive.
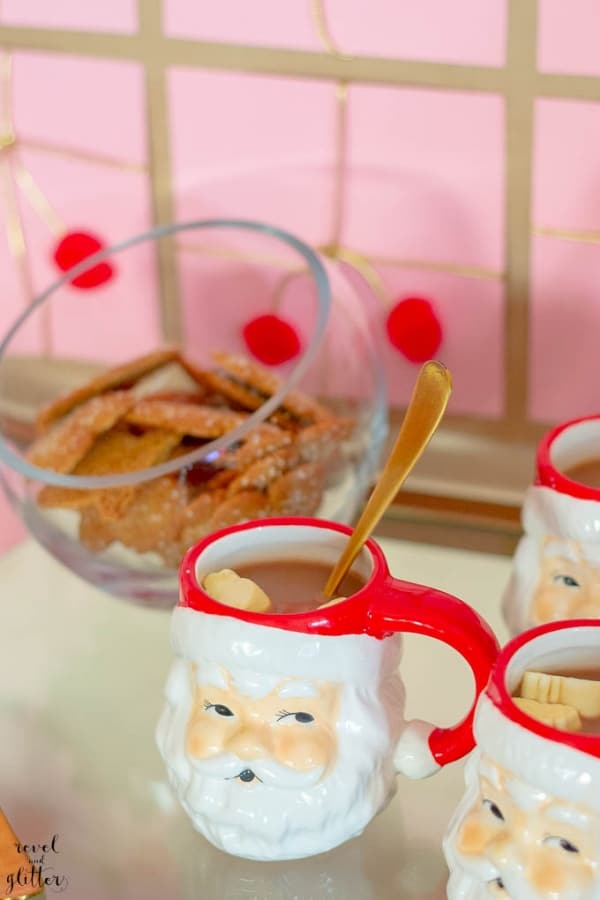
Mount your backdrop and set the scene with your other party items and impress those guests…or at the least, get a giggle out of them!
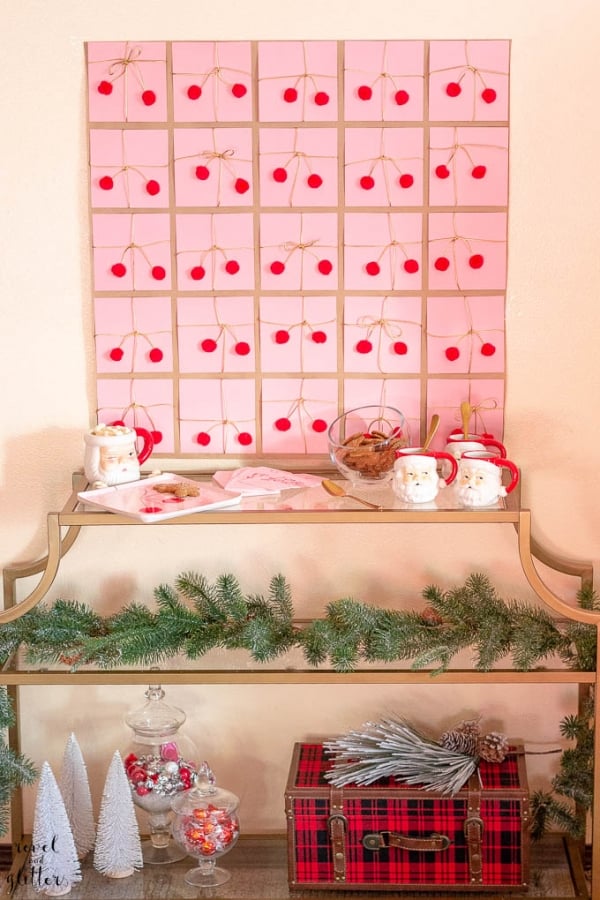
I hope you have been inspired to create a fun party backdrop…making moments special don’t require a lot of money, just a little time and love. Need more party inspiration? Visit my blog for lots of Christmas ideas from parties and recipes to crafts.
 Like what you just read? There’s more where that came from…follow Revel and Glitter on Facebook, Twitter, Pinterest, and Instagram. Learn about upcoming events, giveaways and more with my newsletter!
_______________________________________________________________




Leave a Reply