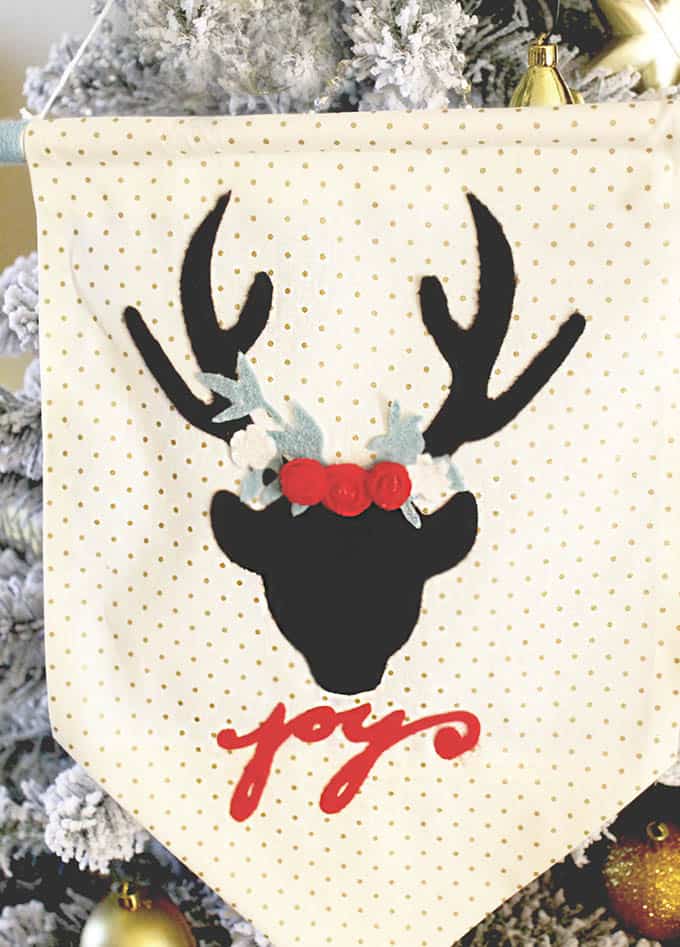
Hello! Keisha, here from Cupcake Wishes & Birthday Dreams where I share tips and ideas for entertaining and creating affordably! I’m so excited to be part of another Christmas Wonderful over here on Design Dazzle and am ready to share some holiday cheer! Today, I’m sharing an idea for a festive Christmas deer holiday wall hanging.
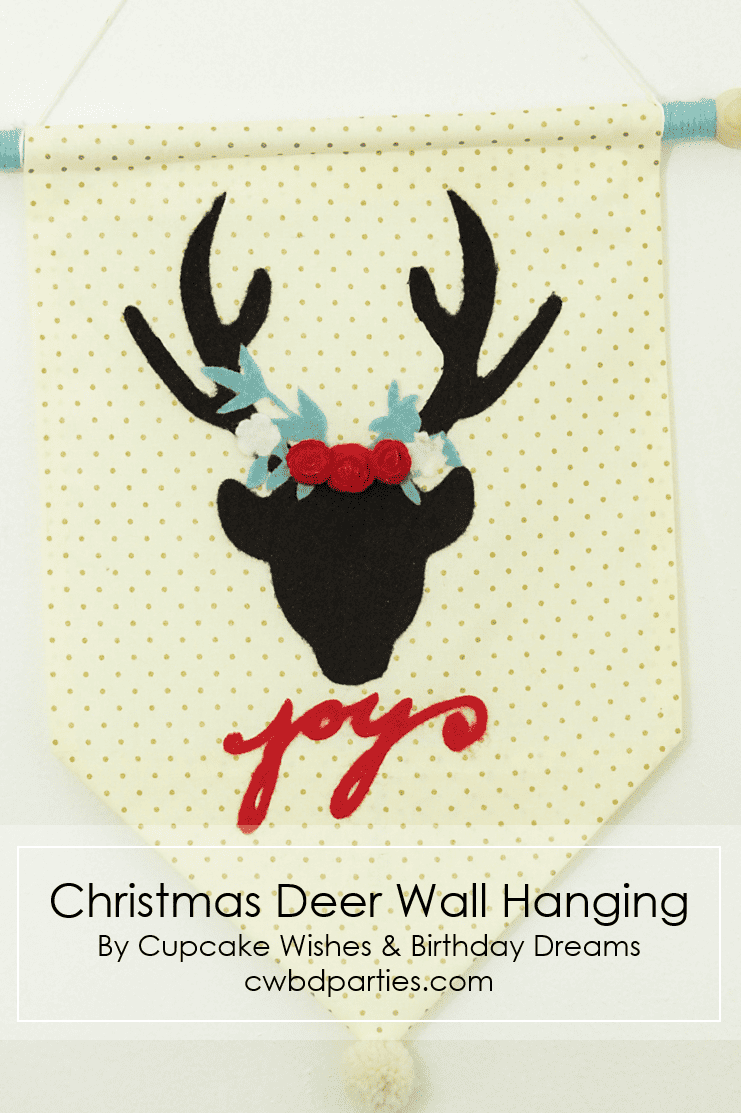
I’m so excited for Christmas and really enjoying getting my home ready for the holidays. Each year I find myself working with a new holiday or color scheme and this year is no different. This year I was really drawn to muted teals, aqua, deep red and cream! As I decided on a new color scheme, it dawned on me that most of my holiday stash doesn’t include some of the colors. That meant I needed to make a few holiday items to work into my current Christmas decor.
I’ve seen a few banner style wall hangings for everyday decor, not too many for Christmas, so, I thought making a wall hanging for my home would be a super simple DIY…..and it really is.
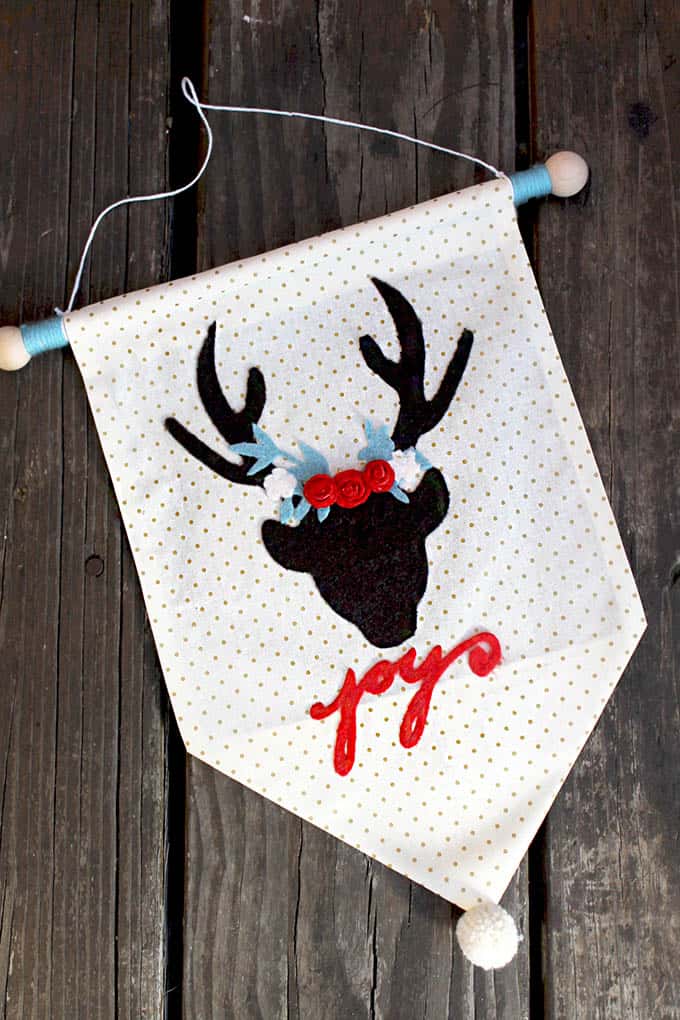
To make your own, you need a few supplies:
Medium weight fabric cut at 10″ x 18″
One ½ x 12″ Wooden dowel
Two 1″ Ball knobs
9×12″ Felt Sheets
Heat and Bond
Hot Glue
Scissors
The steps to make the fabric banner are not complicated at all. I simply cut my fabric to a length I wanted. Then, I folded the edges around the banner ¼″ to the back and ironed them in place with iron-on fusing. Once the edges were adhered, I created a pointed bottom to the banner by folding the bottom left and right sides upward to a point and again adhered that to the fabric with the fusible web.
Since the banner needs to hang, I created a pocket, where the wooden dowel slips through using the fusible web to hold the fabric in place. Once I the banner was made, I added cut felt pieces that I made with my Cricut. I had a bit of a time cutting the felt with the machine but after a few attempts (and a fresh and clean mat) I was able to cut out all my pieces.
To do that, I added Heat and Bond to the felt then, added the fabric to the cutting mat and set my machine dial to cut felt. If you don’t have a cutting machine, you can use a manual die cutting machine, as an option. Once all the pieces were cut out, I ashered them to the banner with a hot iron (no steam). The heat and bond that I applied to the felt allows the felt to adhere to the fabric banner.
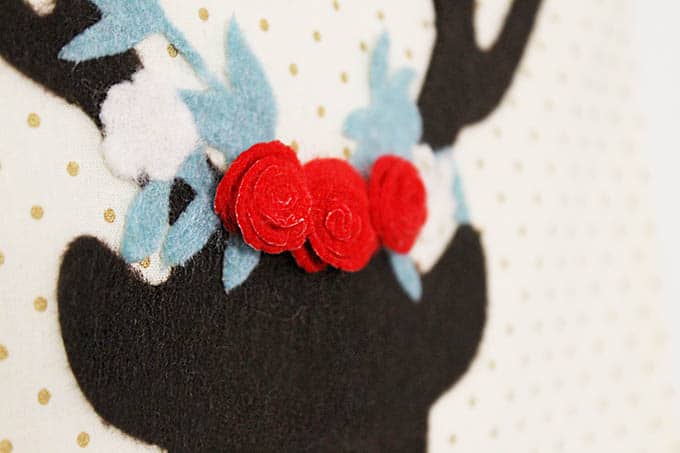
After your pieces are set up on the banner, the last step is to add the wooden dowel. Simply slip it through the pocket. You can finish the banner off with ball knobs on each end. I also added a yarn pompom to the bottom of my banner but you can add any trim or embellishments that you would like. I wrapped a bit of yarn around around the bare areas of the dowel for a finished look.
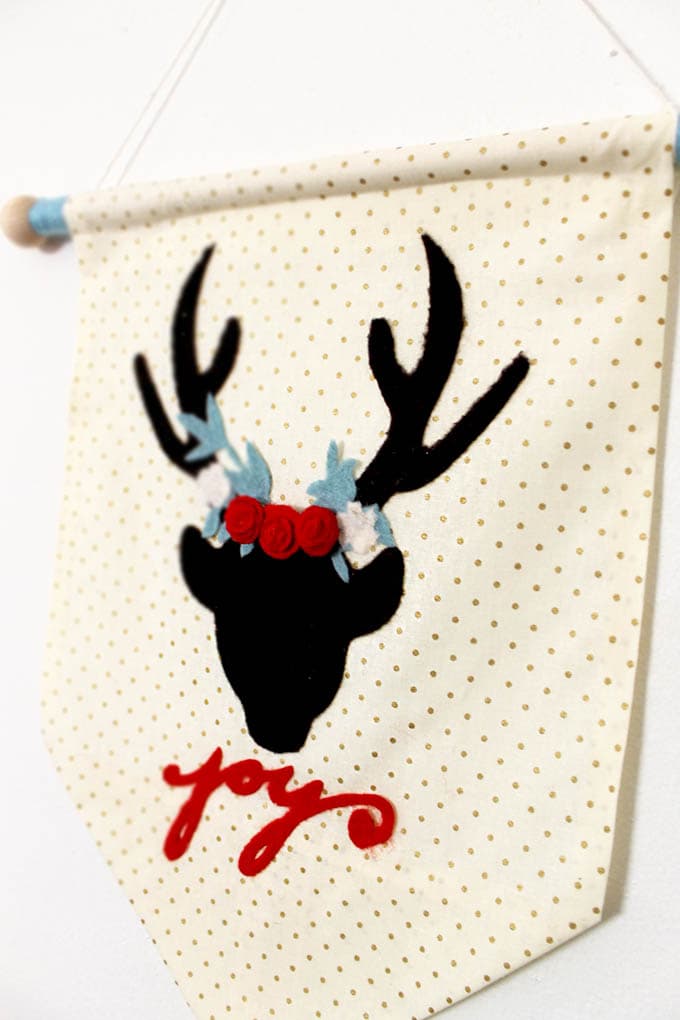
This banner is going to make such a lovely addition to my holiday home decor. If you’d like to create the banner as shown here, and you own a Cricut cutting machine, you can access the Holiday Deer Project file here.
Thank you Toni, for letting me share this festive craft idea with your readers. I hope you all have a wonderful and crafty holiday season. For more holiday party ideas, crafts, tips and recipes, come visit me at cwbdparties.com.
Find Keisha at @cwbdparties on Facebook, Instagram, Pinterest, Twitter and Periscope
_______________________________________________________________





Toni - Design Dazzle says
Keisha, I absolutely adore this wall hanging! Thank you so much for doing such a fabulous job! We have loved having you be a part of our Christmas Wonderful Series!