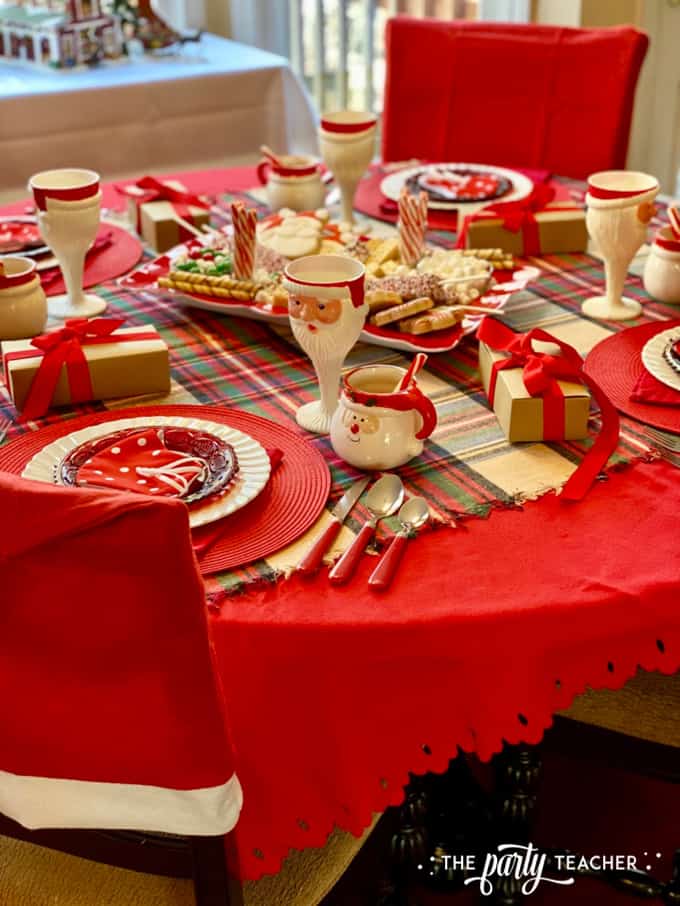
Hi! I’m Jennifer from The Party Teacher and I’m thrilled to be invited back for Toni’s Christmas series to show you how to assemble an easy Christmas charcuterie board for kids. You can put together this board in minutes with just a little shopping (no baking required)! It also doubles as the centerpiece of your Christmas children’s table.
SUPPLIES
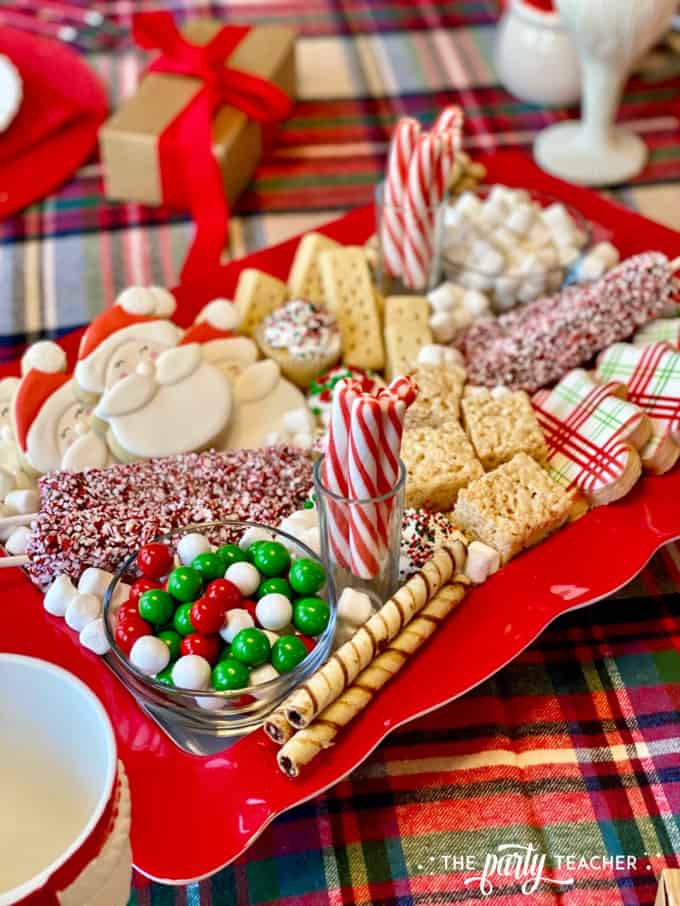
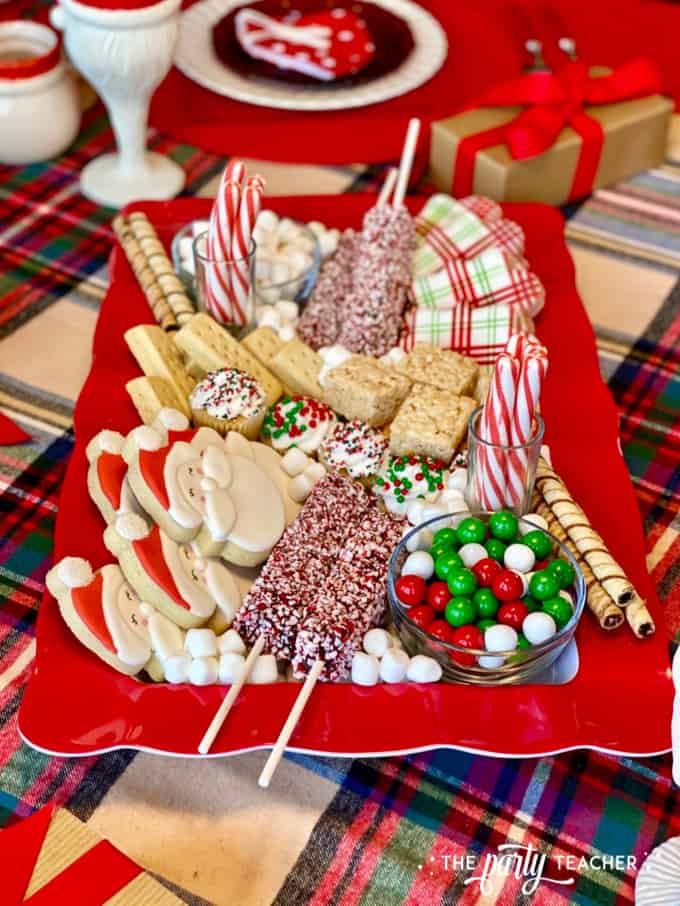
Most of my desserts came from Sprouts. (The beauty of the charcuterie board is that while you certainly could make little treats for it, you can just buy everything you need.)
- Platter (mine is 19 inches long x 12 inches wide)
- Santa cookies and plaid cookies by Sugar Mama Sheryl
- Mint candies
- Mini marshmallows
- Chocolate and peppermint coated marshmallow pops (Tuesday morning)
- Pirouline wafers
- Mini vanilla cupcakes that I rolled in sprinkles
- Peppermint sticks
- Shortbread cookies
- Brown butter Rice Krispies Treats
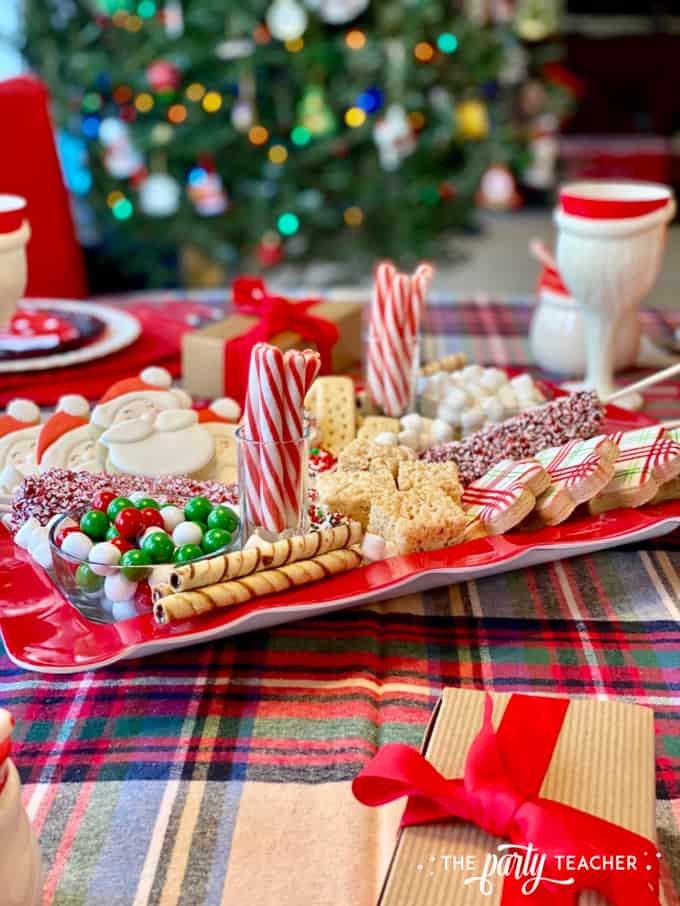
When you choose your treats, it’s helpful to have:
- A variety of sizes and shapes, including smaller items and long narrow options
- Desserts that are sturdy and won’t easily crumble. This will make it easier to pile your treats (and keep your board from looking flat)
- A variety of flavors and colors
- Colors that illustrate your party theme
INSTRUCTIONS
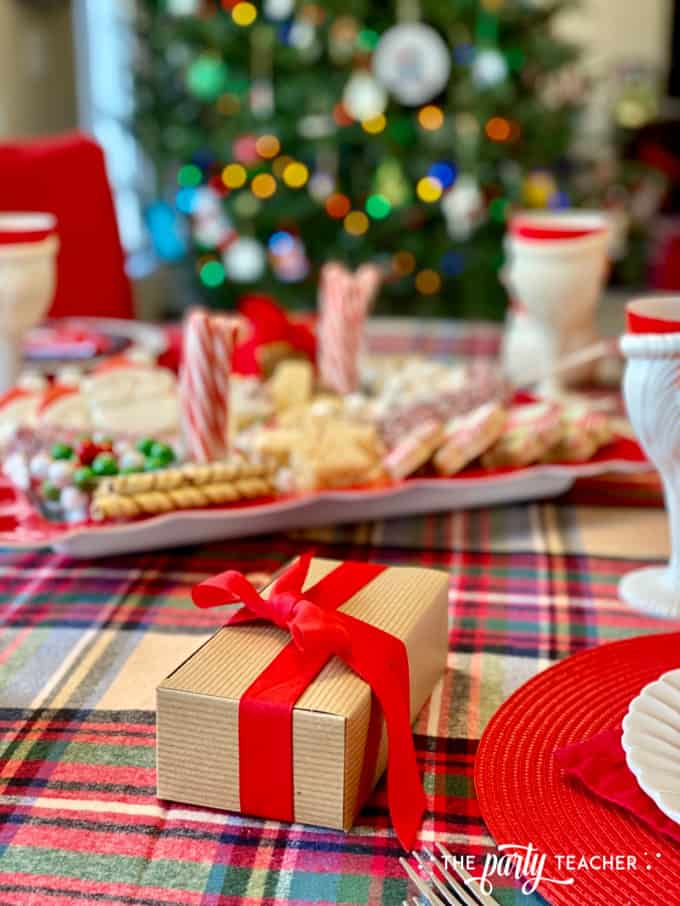
1 – Start by setting the table where you’ll display your board. Once you have all the goodies set, you won’t want to try to move the board. I picked my kitchen table, and set it to be the children’s table for Christmas. The charcuterie board is doing double-duty as my centerpiece.
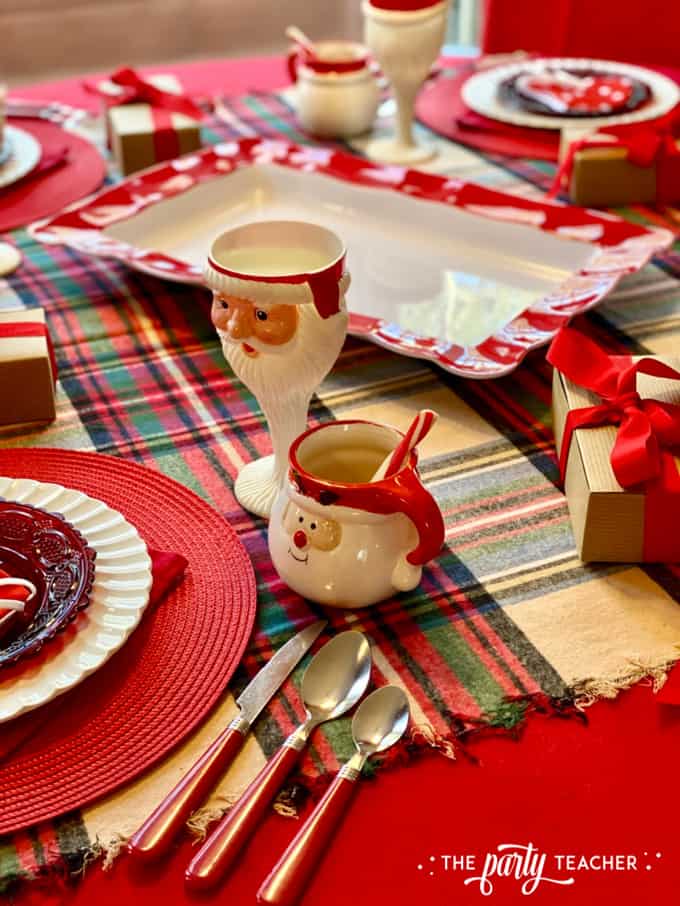
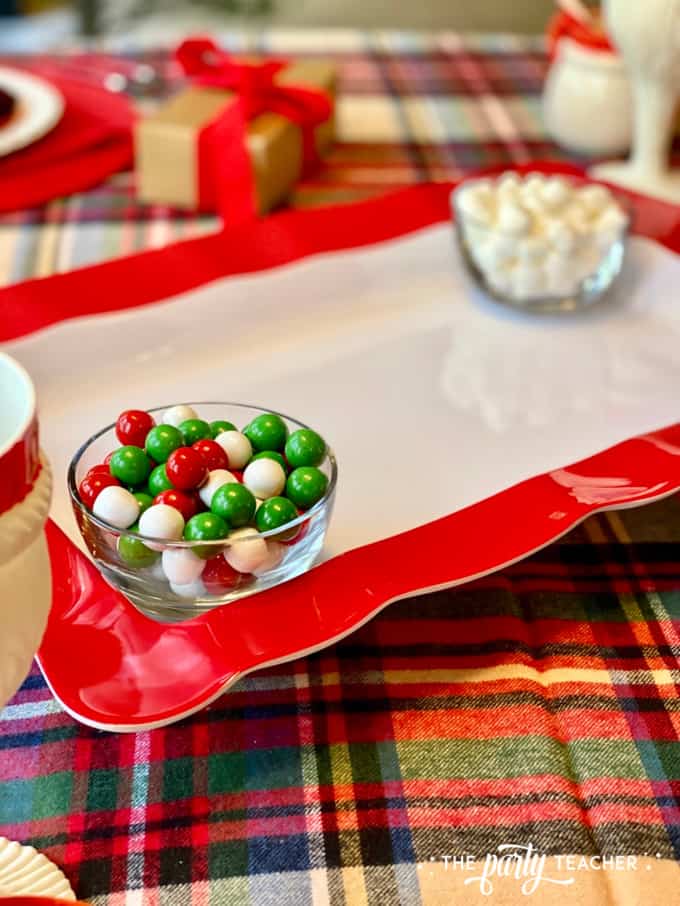
2 – Add shallow bowls for the candies and marshmallows, and distance the bowls. I put mine at separate corners of the board.
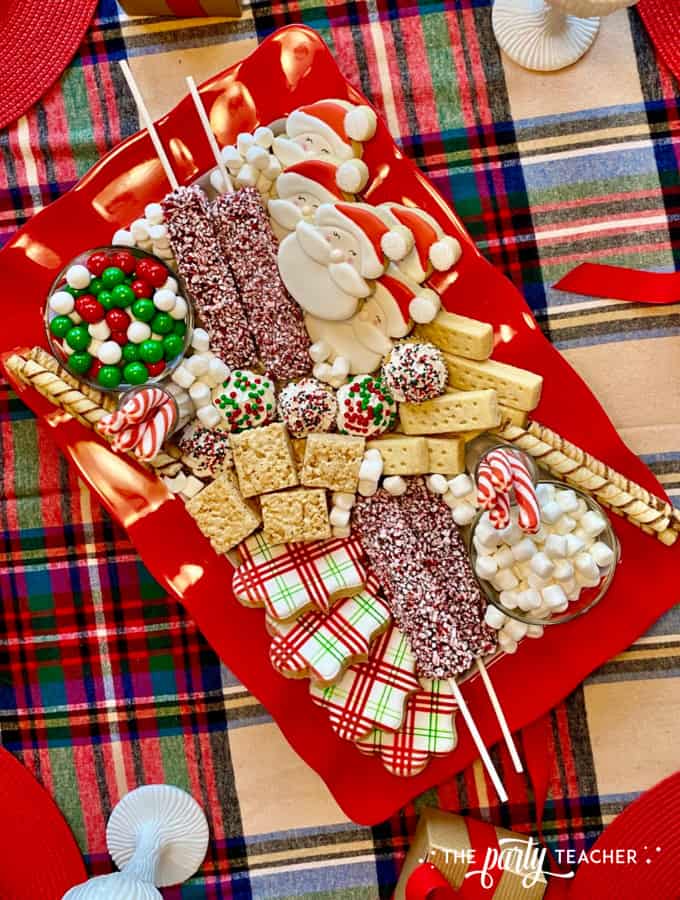
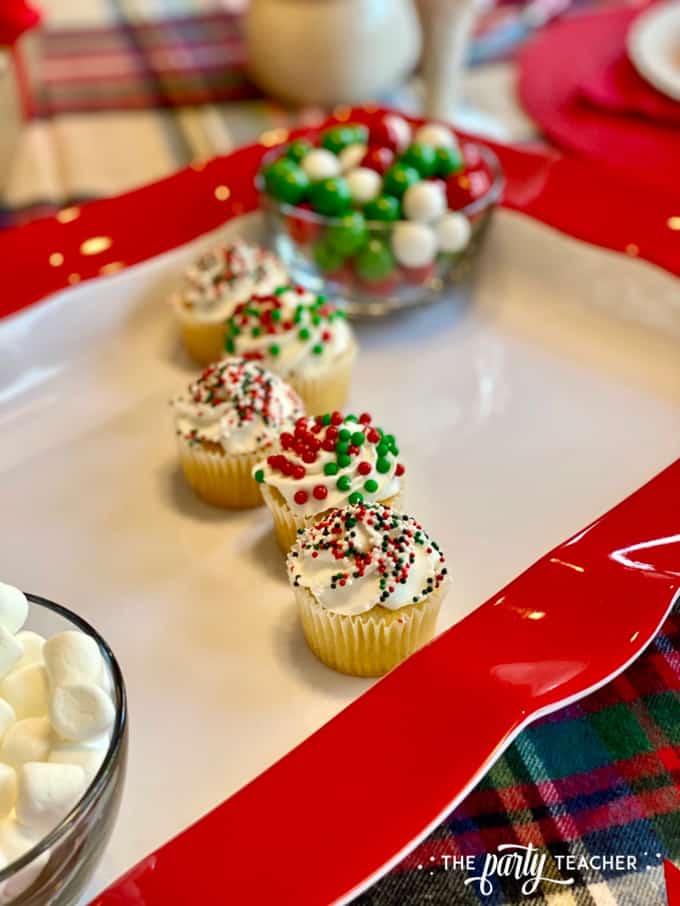
3 – Add cupcakes toward the middle of the board, and create some vertical interest by arranging them in a snake-y “S” shape.
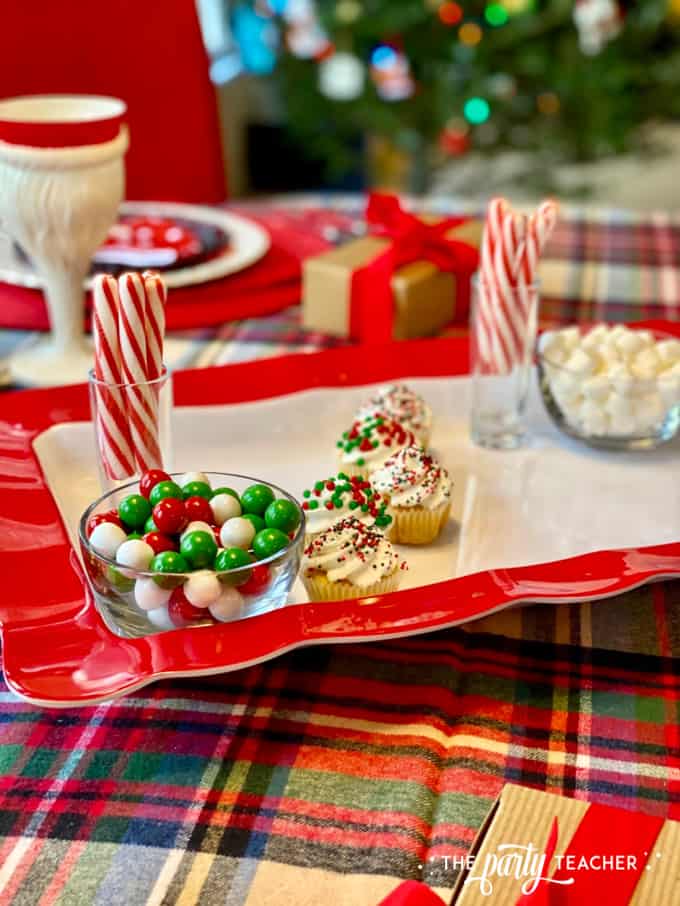
4 – Since my platter is fairly deep, I wanted to make sure I had some vertical interest, so I added peppermint sticks in dessert shot glasses. I put those next to the candy bowls.
5 – In the corners opposite the candy bowls, add the sugar cookies. Don’t be afraid to stack your treats on each other, as long as they don’t wind up squished.
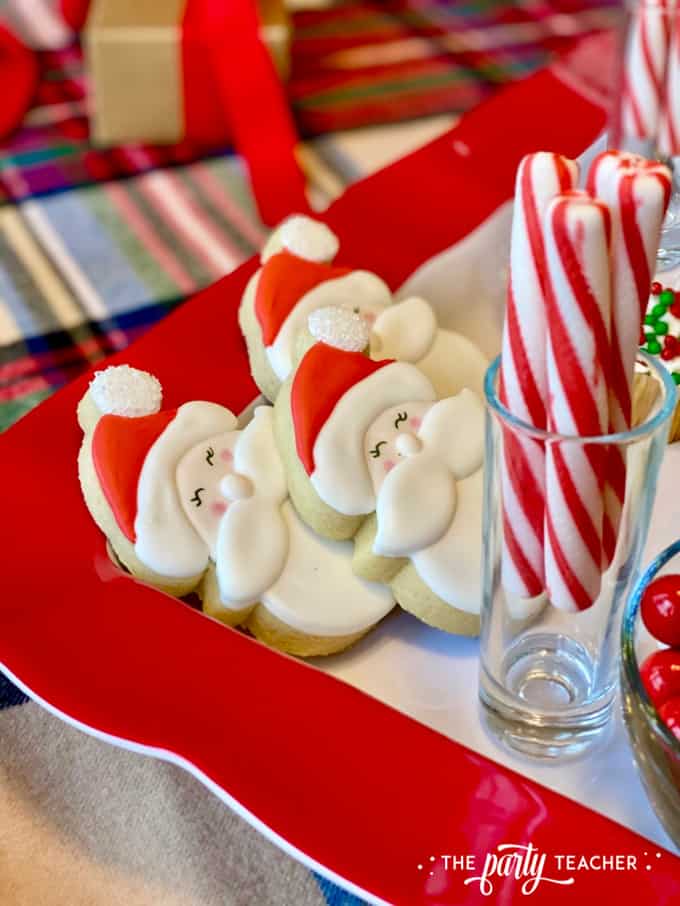
6 – Use the marshmallow pops to anchor the cookies in place. If you need to move things around, go for it. I shifted one of the glasses of peppermint sticks.
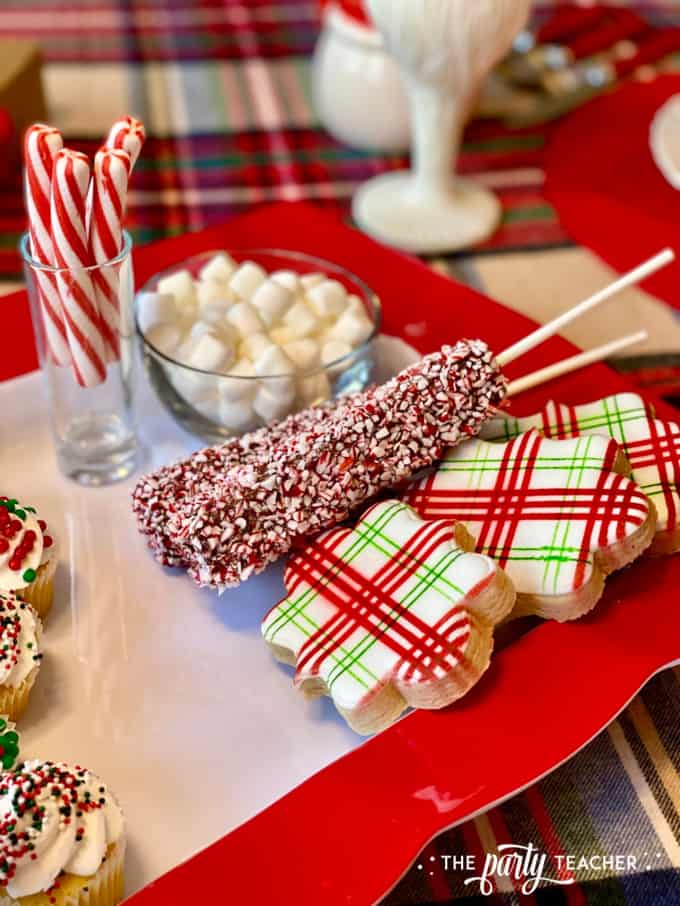
7 – At this point, you’ve filled all four corners of the board, so it’s time to fill in the remaining spaces. It helps to have narrow or small treats. I used shortboard cookies and Rice Krispies Treats cut into small squares. (Milano cookies are also good for this purpose.)
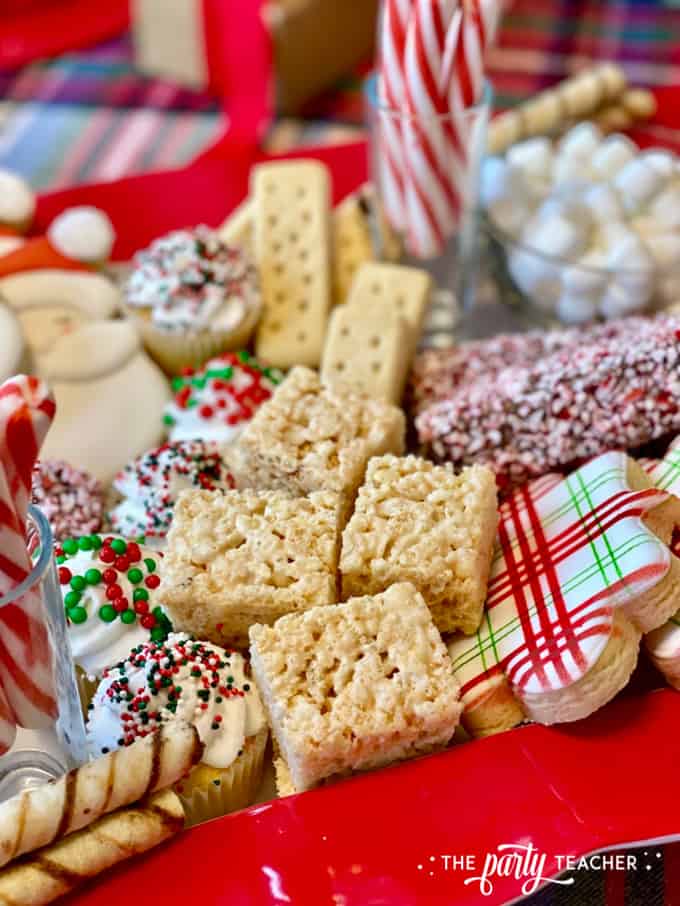
8 – Add Pirouline wafers to opposite edges of the board. If you work in with offset symmetry in mind, your board will look pulled together instead of jumbled.
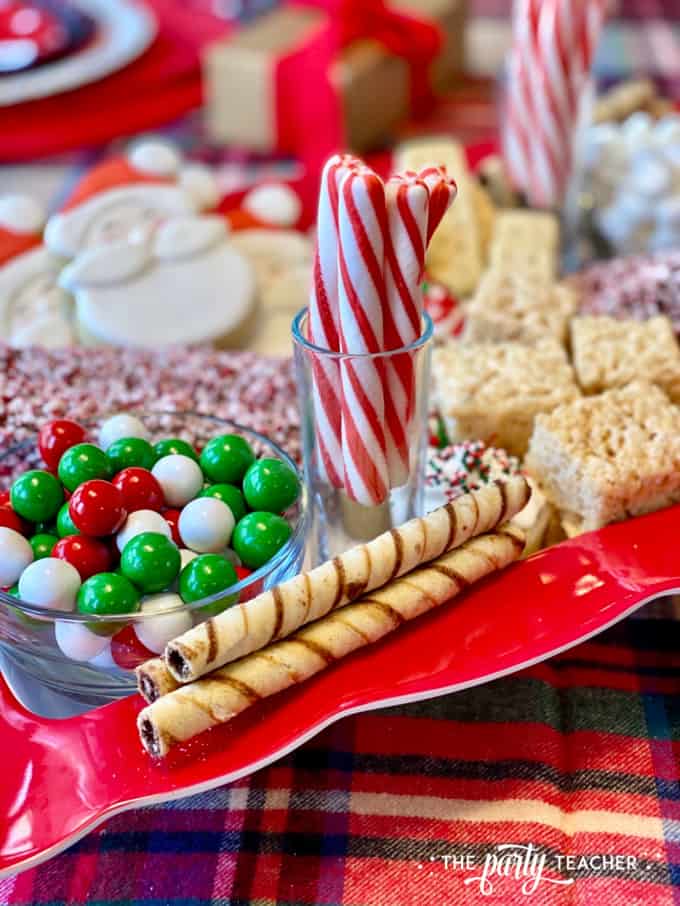
9 – Fill in any small gaps with more mini marshmallows. (Coconut would also be cute and snow-like on a winter board.)
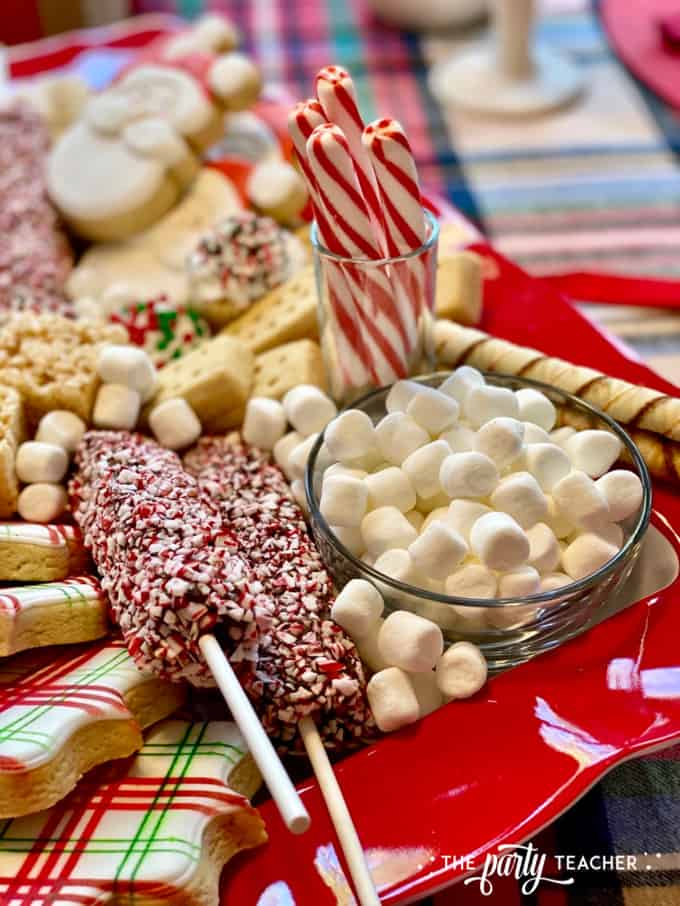
To see more details of my children’s Christmas table, visit my blog. You’ll also find loads of ideas of children’s birthday and holiday parties that you can always easily recreate in your home.
I hope you’ll hop over and pick up your free copy of my party planning cheat sheets. And if you want even more party ideas, check out my Party Plan Club.
Merry Christmas to you and many thanks to Toni!
We are so thankful to Jennifer for joining our 11th annual Christmas Wonderful!






Leave a Reply