Hello Design Dazzle Readers! My name is Suzy Myers and I am the author and zookeeper over at Suzy’s Artsy Craftsy Sitcom and Daily Holiday Blog!
The Sitcom features arts, crafts, and humor, along with a specialty in vintage and recycled crafts; and currently hosts over 150 detailed original DIY and craft tutorials and tons of free patterns! Daily Holiday Blog celebrates all those random daily holidays that you never knew existed. Every day is a celebration!
Today, I’m going to show you how to make some cute Christmas Bear Magnets!

For this project I used:
Bread Dough:
2 cups of flour
½ cup of salt
Water
Other supplies:
Acrylic Paint
Clear coat varnish or Mod Podge
1″ x 2″ wood pieces (3)
glitter in red and green
Stencil
Magnets
Hot glue, white glue
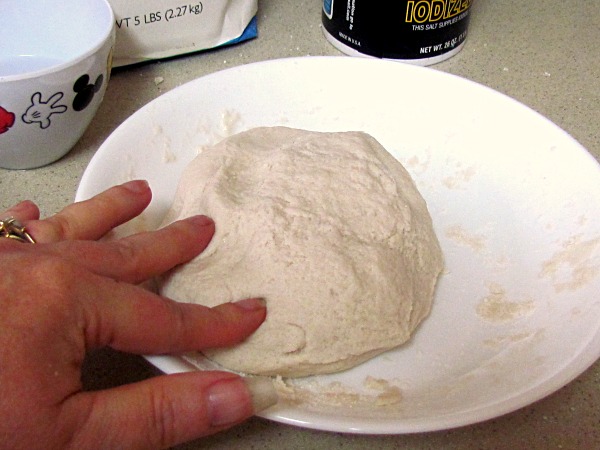
Mix flour and salt together in a bowl and add water gradually, mixing with your hands until you have a dough consistency. It should not be sticky. If so, add a bit of flour.
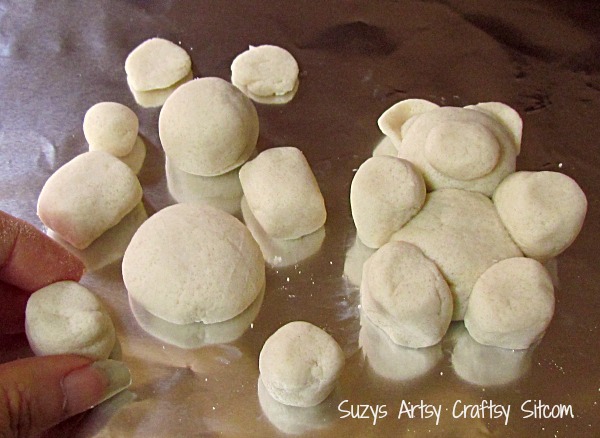
Now for the fun part. Make an 1 -½″ diameter ball, and top it with a 1″ ball. Roll out the legs. Attach the legs to the body using a drop of water to adhere the two pieces. Add the arms the same way. Create ears and a nose by forming smaller balls, shaping them and adding with a drop of water. The girl bear needs a bow for her hair. Of course.
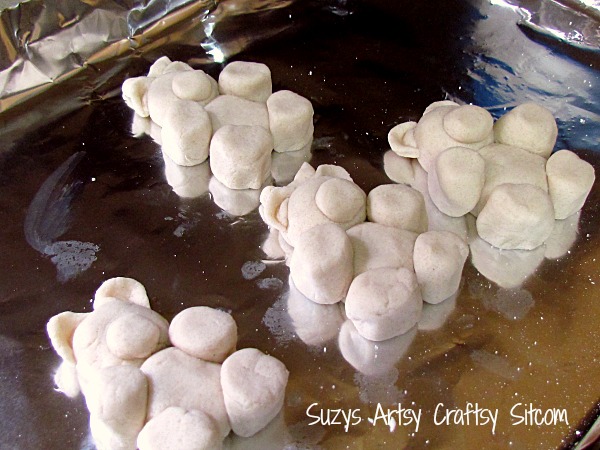
All pieces are then put on a pan that is covered with aluminum foil and baked in a 300 degree oven for about 3 hours. Be sure to turn the pieces over when they are about half way done to ensure that the bottom cooks all the way. Your house will smell pretty darn awesome by the way.
Allow pieces to cool completely before painting. Unfortunately, I allowed mine to cool at “dog level” and by the time I realized it, my dog Ralph ate one of my bears. I’m sure he thought it was a bear shaped doggie treat. So my original plan of having the bears spell out “NOEL” was changed at the last moment. Ha!
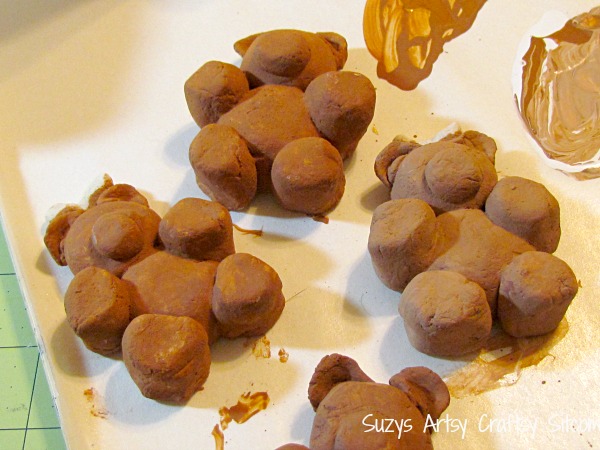
I used a nice butterscotch brown acrylic paint and painted the entire front and back of my bears.
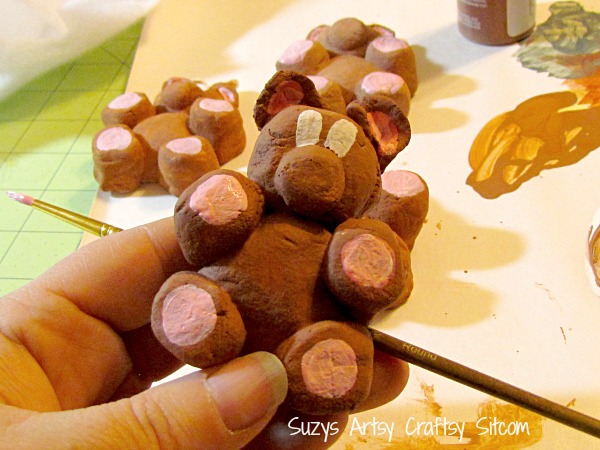
Then add in pink for ears and hands and feet. Paint in white for the eyes.
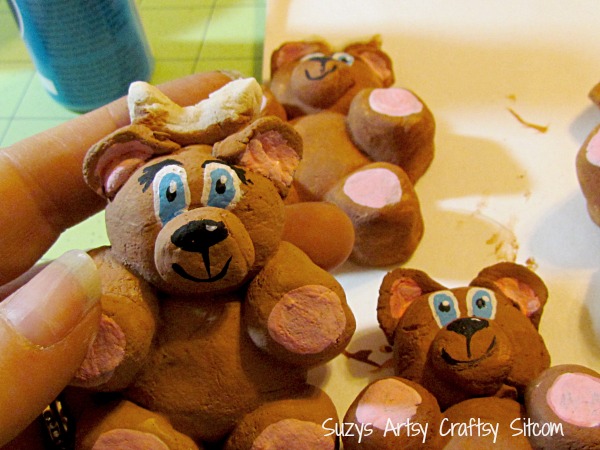
Finish the eyes with blue and paint in the facial features with black. The bows on the two girl bears are painted red and green.

The next step (and most important) is to give them several coats of clear, non yellowing varnish. Be sure to turn them upside down and get the bottom also. The nature of bread dough is that like any natural substance, it can have the tendancy to deteriorate. Particularly if you live in a humid environment. Oh, like say Atlanta, GA. If you protect it with several coats of clear coat, you will not be disappointed a year or so later when it becomes a pile of flour dust. Just saying. (For storage, I suggest placing them in a ziplock bag. It will protect them from any humidity while in storage for next Christmas).
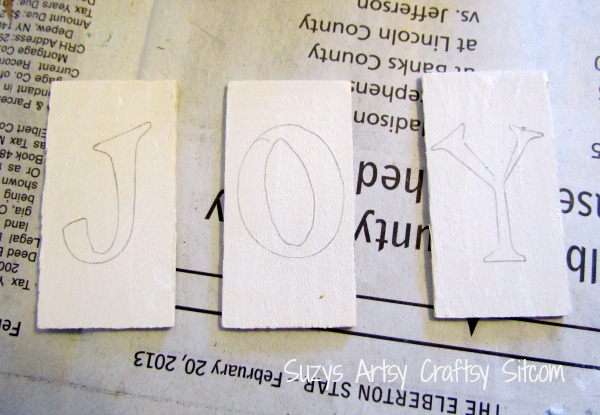
Paint the wooden pieces white, and then use a stencil to draw in the letters, J-O-Y.
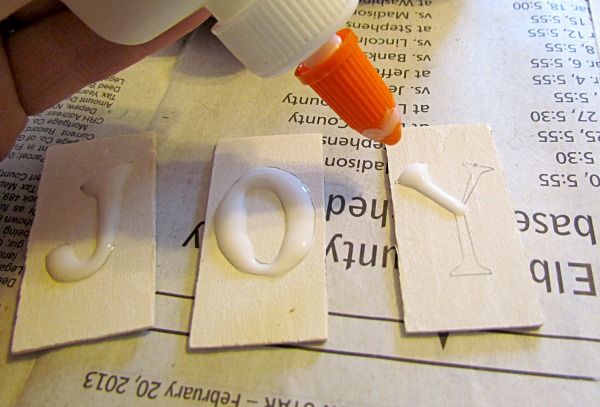
Use the white glue to fill in the letters.
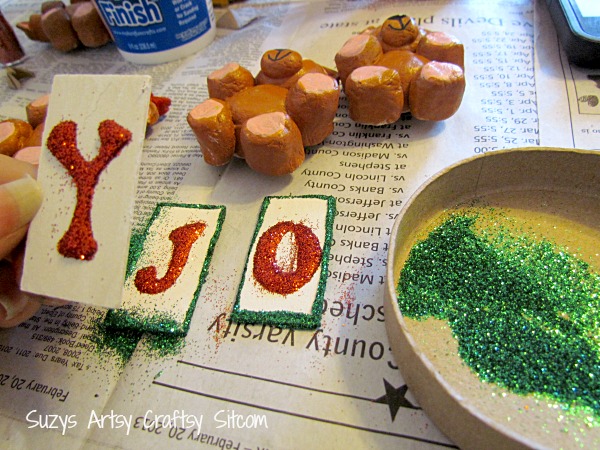
Sprinkle red glitter onto the letters and allow to dry. Then add white glue along the edges and dip into green glitter. Allow to dry and use a dry brush to brush off the extra glitter.

Use hot glue to glue magnets onto the back of each bear and glue the signs in place.
And there you have it! Cute little bears with a joyous message!
For more tutorials and lots of fun, be sure to check out Suzy’s Artsy Craftsy Sitcom and Daily Holiday Blog! There is always something going on! To keep up with the Sitcom, be sure to stay in touch:





Leave a Reply