

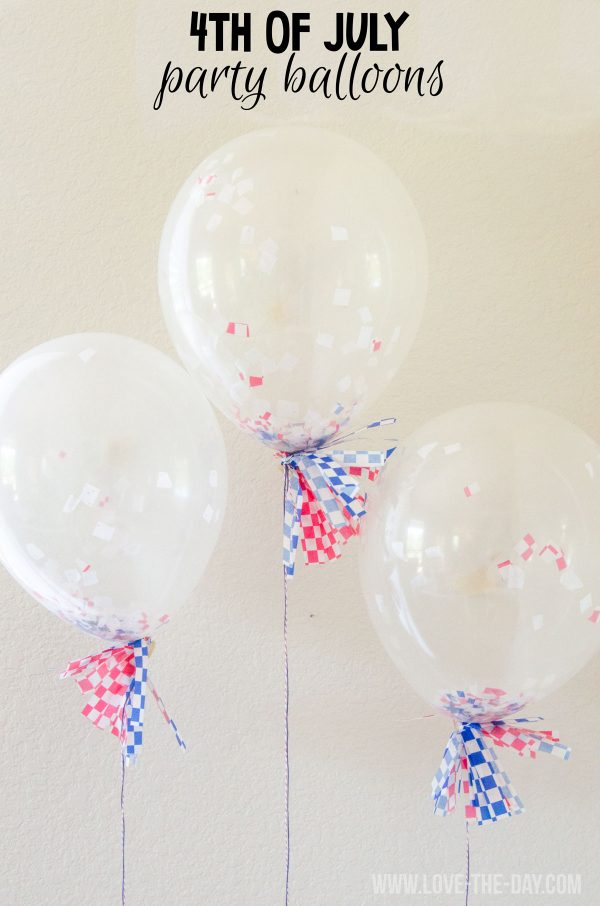
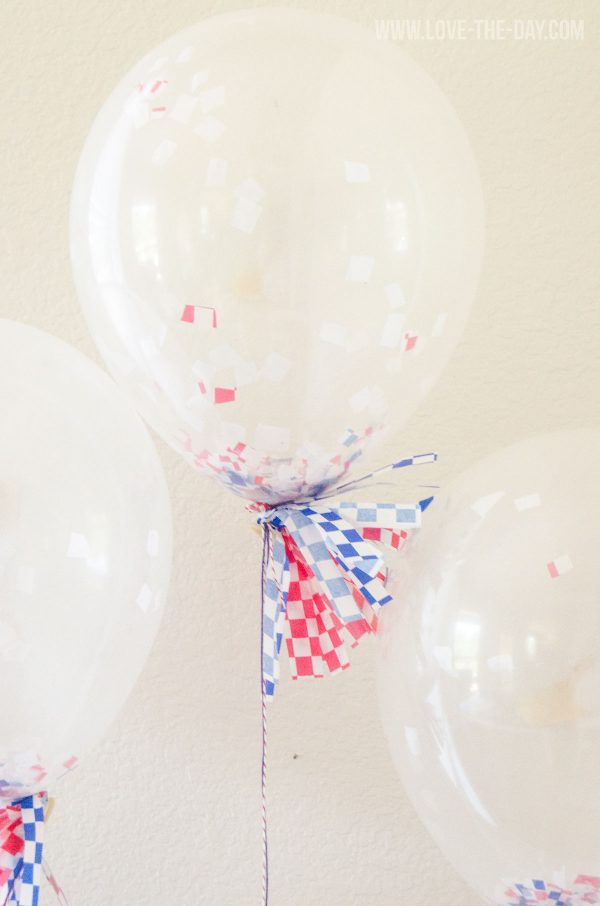
So happy to be here over at Design Dazzle for their Summer Camp series. This is my 3rd summer participating! Last year I made these Sweet Land of Liberty tags and the year before I shared a Patriotic Medallion tutorial. This year, I am sticking to my party roots and am sharing a tutorial how to create 4th of July Party Balloons, perfect for your summer celebrations. They would look fantastic as a centerpiece, as part of a dessert table backdrop or even tied to your child’s bike for the neighborhood 4th of July parade. They are pretty simple to make and super inexpensive. Follow along below for the tutorial.
And for lots of free printables, diy party ideas and party features make sure to visit me at Love The Day. I am a total fan of social media, so let’s connect! You can find me on Facebook, Twitter, Pinterest and Instagram.
MATERIALS
Red, White & Blue Tissue Paper
Clear Balloons
Scissors
Helium Tank
Ribbon or Twine
INSTRUCTIONS
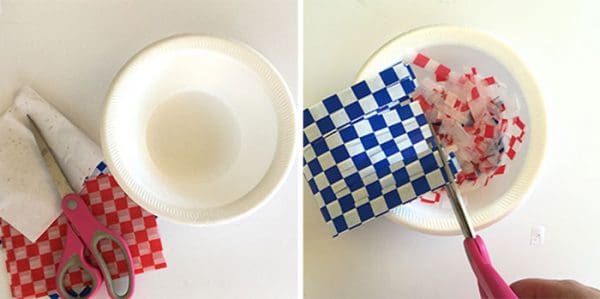
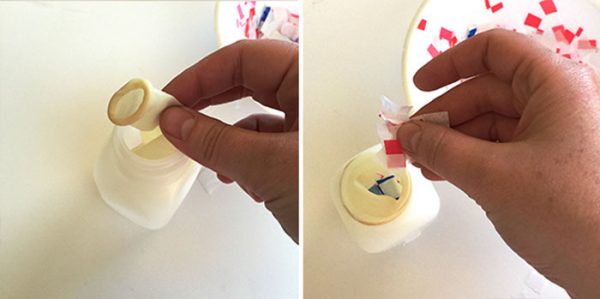
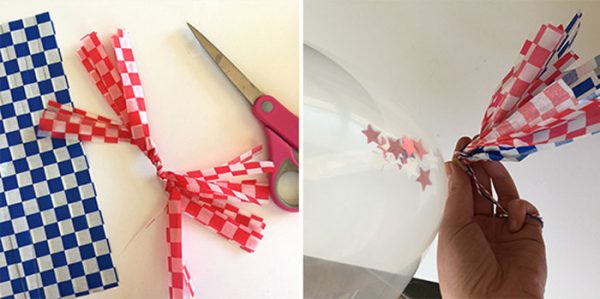
Take your tissue paper, fold a few times and cut into little squares (it should resemble confetti). Next grab a clear balloon and stretch its opening around a small jar or container (a funnel works great too). Place your confetti inside the balloon. Fill the balloon to capacity! The more confetti, the more colorful your balloon. Blow up the balloon with your helium tank and tie with twine.
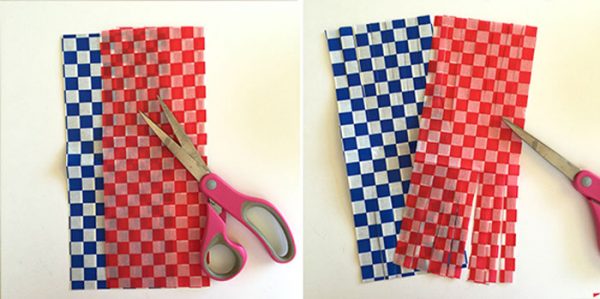
Onto the tassels! Take your tissue paper and cut a large rectangle piece. Cut stripes up both sides of the rectangle, leaving about two inches of the middle uncut. I typically cut about ½ inch strips. Once you’ve cut your strips, fold the rectangle in half longwise and begin twisting. When the center is all twisted, fold over and wrap around the base of the balloon.


I love creative party decor! Thanks for sharing, Lindi, and for being a part of our 5th Annual Summer Camp Series!
Want to see more summertime fun ideas? Check out the Summer Camp Archives!


Dawn says
I love crafting with my grandkids. Thank you
Toni Roberts says
What a fun activity to do with them. Great memories for them too!